Lately, I’ve noticed a growing interest in what people like to call “Golden Age Minecraft” (reddit). This term typically refers to versions of Minecraft prior to Beta 1.8 / Release 1.0.0: The Adventure Update. This update added a bunch of new features and, for better or for worse, introduced a true “goal” into the game: build up supplies, reach The End, and defeat the Ender Dragon. Prior to this update, Minecraft had no explicit goals and was truly a sandbox. The only things to do were explore, build stuff, and find diamonds. It was a simple loop that generated hundreds of hours of fun for my friends and I back in high school.
Simpler Times Link to heading
Back in the day, I ran a Minecraft server from the utility room in my parent’s basement. The server itself was a wimpy Acer Aspire One with 512MB of RAM and an Intel Atom processor. Since I knew next to nothing about server administration at the time, I struggled to get everything working. The networking aspects were especially difficult to understand: I had no idea what a port even was or how to “forward” it. I also remember telling my friends (who were trying to connect remotely):
I’ve got everything working! Try connecting to… 192.168.1.10
In hindsight, this gives me a laugh (as I’m sure it does for any other tech professional).
The joke here is that the 192.168.0.0/16 address space is reserved for private networks and are not publicly routable on the global internet (reference).
Connecting via this IP address worked for me at home but it would never work for anyone connecting remotely.
After a bit more reading, I finally grokked the difference between LAN and WAN (local area network vs wide area network) and found the actual IP address that my friends needed to connect to.
Despite all of the fuss, I eventually got the server up and running and we had a blast.
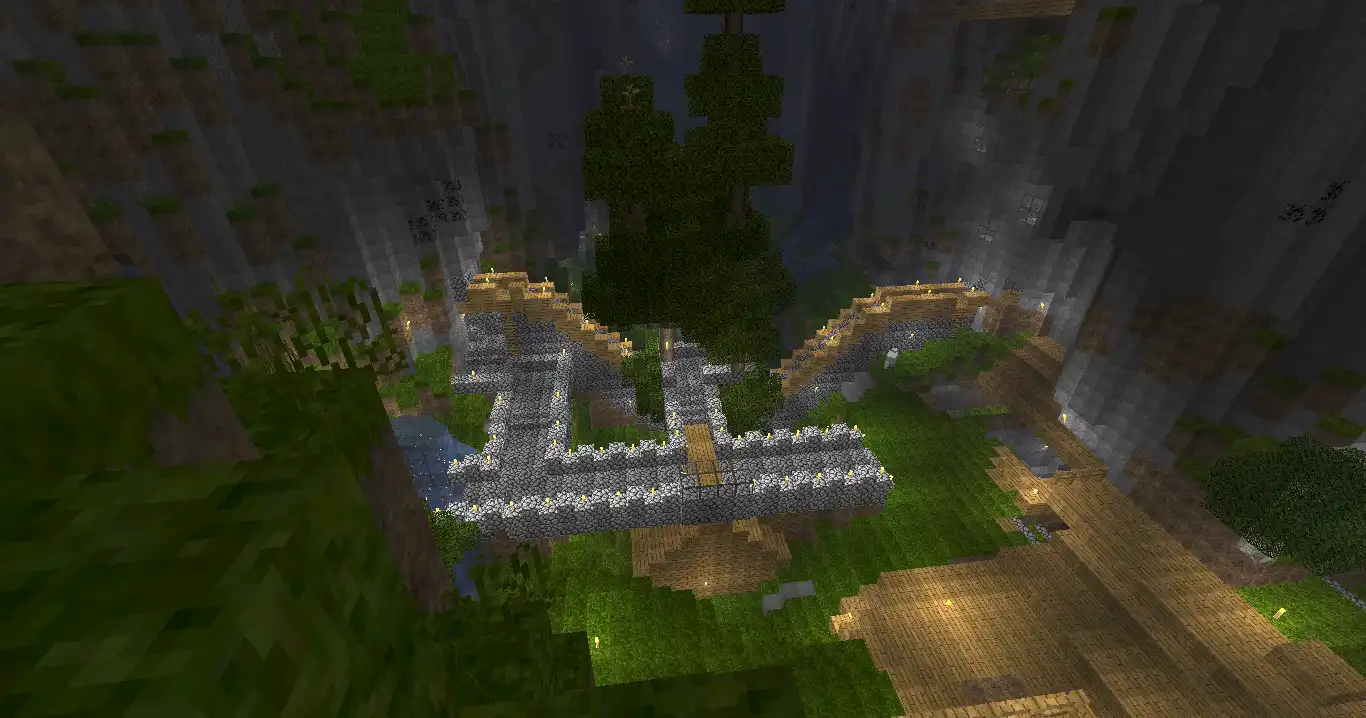
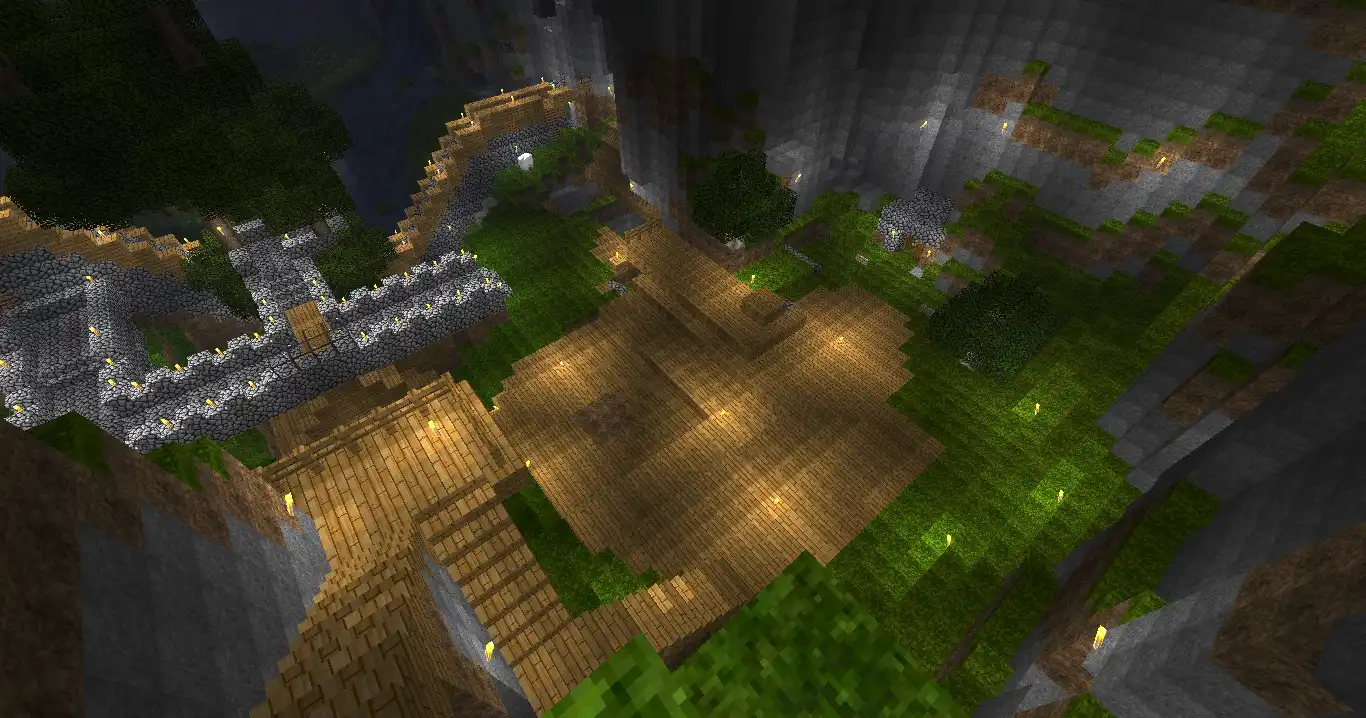
We used the gargamel seed (of course) and spent months transforming that beautiful valley into an epic home base.
We had a storage house, a monster arena, and various redstone contraptions (I had to learn what logic gates were).
We made a giant lighthouse, multiple outposts, and an underground rail system to connect the landmarks together.
Everything we did was motivated by one thing: FUN.
There was no Ender Dragon to kill and no End to explore; there was no end at all.
Simply mine, craft, and have a good time!
Screenshots Link to heading
I dug up a few screenshots of the old server. Please excuse the fuzzy resolution and “sign of the times” wood + cobblestone aesthetic.


Terraform + Ansible Link to heading
Since then, I’ve studied Software Engineering and worked as a professional developer for almost seven years. I now have a much better perspective on system administration, networking, and security. My first internship was centered around system automation. Specifically, how can we easily spin up and configure of a large fleet of Linux servers? We found a solution to our problems at the intersection of two incredible tools: Terraform and Ansible.
Terraform is an open-source tool for building, changing, and versioning infrastructure safely and efficiently. It allows users to define cloud and on-prem resources using human-readable configuration files that can be version controlled. Terraform uses “providers” to provision and manage these resources through their respective APIs. It follows a three step process of writing configurations, planning changes, and applying changes to infrastructure.
Ansible is an open-source automation engine that makes it simple to automate repetitive tasks across servers like configuration management, application deployments, and orchestration. It uses YAML scripts called “playbooks” to declare the desired state of systems. Playbooks ensure that systems remain in that state even if run multiple times (the key idea here is idempotency) using an agentless, SSH-based architecture.
With that background out of the way, let’s manage a Minecraft server like a professional!
The Server Link to heading
I use Digital Ocean as my primary hosting provider.
For me, it providers a perfect balance of simplicity, reliability, and cost.
For a small Minecraft server with an estimated capacity of five users, I knew I didn’t need anything huge.
I selected a s-2vcpu-2gb droplet (2 vCPUs with 2GB of RAM) for $18/month and attached a 50GB storage volume for an additional $5/month.
Add in the $1/month for domain registration and the total comes out to $24/month.
This might not be the cheapest or most powerful Minecraft server, but I’m happy with the performance and stability it has yielded thus far.
With Terraform, this configuration can be declared in just three blocks:
# create a 50GB storage volume
resource "digitalocean_volume" "minecraft_data" {
  name   = "minecraft-data"
  region = "nyc1"
  size   = 50

  initial_filesystem_type = "ext4"
}

# create the server with my SSH key installed and storage volume attached
resource "digitalocean_droplet" "minecraft" {
  image    = "ubuntu-22-04-x64"
  name     = "minecraft"
  region   = "nyc1"
  size     = "s-2vcpu-2gb"

  ssh_keys = [
    "9c:f4:8b:a5:4f:97:99:60:79:50:63:61:61:18:bc:d4",
  ]

  volume_ids = [
    digitalocean_volume.minecraft_data.id,
  ]
}

# create an A record for proper DNS linking
resource "digitalocean_record" "minecraft_a" {
  domain = "sbsbx.com"
  type   = "A"
  name   = "mc"
  value  = digitalocean_droplet.minecraft.ipv4_address
}
Baseline Setup Link to heading
Before installing and configuring the Minecraft server, the physical server itself needs some love. Out of the box, Digital Ocean droplets are perfectly usable but I like to prescribe my own set of defaults. I created a dedicated Ansible role for these tweaks many years ago and have continued to iterate on it as I learn more about system administration and best practices.
I won’t go into the details here but these are the high-level tasks performed by the role:
- Locking down SSH (requiring pubkey auth and limiting login attempts)
- Disabling root login
- Creating admin users
- Setting the hostname, locale, and timezone
- Limiting journald log sizes
- Setting permissions on mounted volumes
- Installing common packages (utilities like
vim,tree, andhtop) - Configuring automatic updates (and when the server should restart)
Installing Minecraft Link to heading
Now that the physical server is setup and secure, I can focus on installing and configuring Minecraft. My usual approach to writing new Ansible roles is three-fold: walk through the process manually while taking notes and stubbing out tasks, fill in the details for each task, and then tweak until everything works as expected. At the very end I’ll do a full teardown, rebuild, and rerun to verify that the role works for completely fresh systems and idempotently skips completed steps on subsequent runs.
After a few rounds of iteration I arrived at a completed role. There are nine tasks in total:
- Install a Java runtime
- I chose
default-jre-headless
- I chose
- Create the
minecraftuser- This user will run the server and own all relevant files
- Ensure the data directory is owned by
minecraft - Download the server JAR
- Shoutout to BetaCraft for hosting old server versions
- Setup the server config file
- I found a config file reference on reddit
- Setup the allowed users file
- Only the usernames found in this file will be able to connect
- Expose port 25565 and limit connection attempts
- This is done with ufw and locks users out after 6 attempts
- Setup the server’s systemd service file
- Start the server and enable running on boot
That’s it! Fortunately, most of these tasks are things I’ve written before so a lot of the “work” here was simply copying, pasting, finding, and replacing. There weren’t as many roadblocks as I expected except for in one major area: security.
Security Link to heading
Since the official login infrastructure for old school Minecraft servers isn’t online anymore, the server can’t actually verify that connecting players have legitimate, authenticated accounts.
This means that, by default, no one will be able to login (unless you want to utilize and trust a third-party proxy).
However, there is an easy way to get around this limitation but it comes with a significant security penalty.
By setting online-mode=false in the config file, the Minecraft server will no longer validate that connecting accounts are genuine and therefore allow anyone and everyone to login.
Allow List Link to heading
That being said, we do still have a bit of control via the “allow list” feature (enabled by setting white-list=true).
You can provide the server with a list of users that should be allowed to connect.
By keeping this list a secret, you gain a small amount of security by obscurity.
This is why I keep the actual list of allowed users encrypted in my Ansible group_vars file.
If this list was public then a malicious actor could use a hacked Minecraft client to spoof their username and access the server as though they were a trusted user.
Despite keeping the list encrypted in my automation, usernames themselves are inherently insecure. They are usually short, widely used (even outside of Minecraft), and visible to everyone else on the server. Names could be accidentally “leaked” by something as simple as sharing a screenshot from the game (usernames can be seen above other characters and in the chat window). Clearly, taking this bare-bones approach to securing the server is unlikely to withstand the test of time and the relentless assault of malicious internet bots.
What other options do we have at our disposal? I do already limit the number of connection attempts (via the firewall) to protect against brute force attacks. If I started to see legitmate security incidents (such as unknown entities successfully logging into the server), then I’d have to find ways to restrict access even further.
Denying Malicious IP Addresses Link to heading
I could try to block the offending IP addresses (the Minecraft server itself supports this) but that probably won’t make much of a difference. IP addresses change and attackers often have many of them available at their fingertips (you saw how easy Terraform was to use). Trying to keep up with blocking bad actors is surely a fool’s errand. It is unlikely to deter even a mildly competent attacker and they have to successfully login to the server in order to be identified as a threat. This solution depends on getting owned and will struggle to ever result in a server that is actually secure.
Allowing Known IP Addresses Link to heading
I think it’d be smarter to approach this from the opposite direction: take a “default deny” approach and only allow certain IP addresses to connect. The Minecraft server doesn’t support this feature directly so I’d have to implement the restrictions at the firewall layer. I’d also have to know where my friends are playing from and hope that they have static IP addresses (I’m not sure how common these are across the range of small town and large city ISPs). If their IP addresses were to change, I’d have to update firewall rules. Thanks to our existing automation, this can be added as a configuration task and deployed in a consistent and repeatable way.
Conclusion Link to heading
Setting up this server wasn’t too much work thanks to my existing Terraform and Ansible experience. It was a breeze to spin up a new server, attach a domain, and configure it to my standards. It had been a while since I dusted off these classic DevOps tools but I had fun using them again. I’m often surprised by how everything continues to work without modification despite many months passing between runs. I feel like my prior investment into these automation tools played a major role (pun intended) in making this project a quick success.
If I ever get the desire to play other versions of classic Minecraft, the code I wrote will be waiting to stand up and configure a new server in just a few minutes. Until then, here’s to playing some Beta 1.7.3 and having a good time!